Installing Emsisoft for the First Time
Step 1
The first step to installing Emsisoft is getting the installer. If you do not have the installer it can be found at the following link.
Clicking the link above should automatically start the download.
Step 2
Once the Emsisoft installer has been downloaded to the machine, we should be ready to begin the installation proccess. This can be done by 'double-clicking' the application that appears in the bottom left, or upper right hand corner of the web browser.
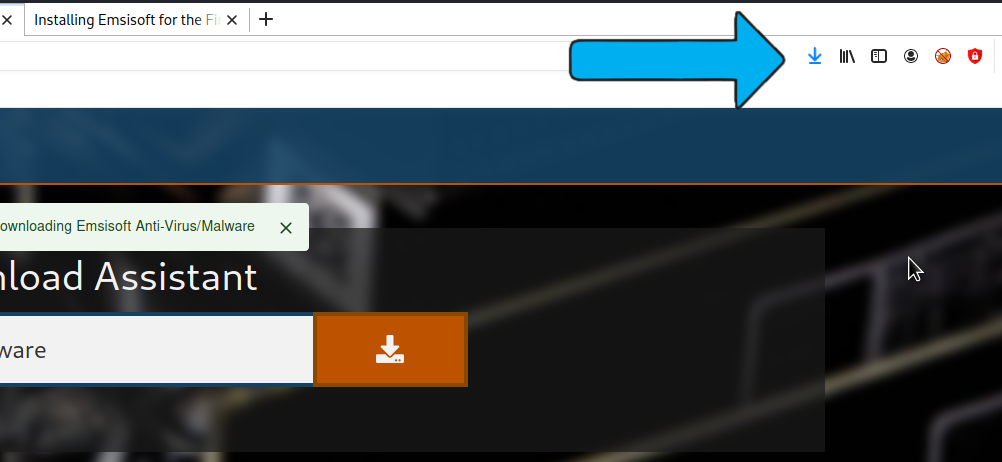
If using Firefox or Microsoft Edge you should see the download in the upper right.
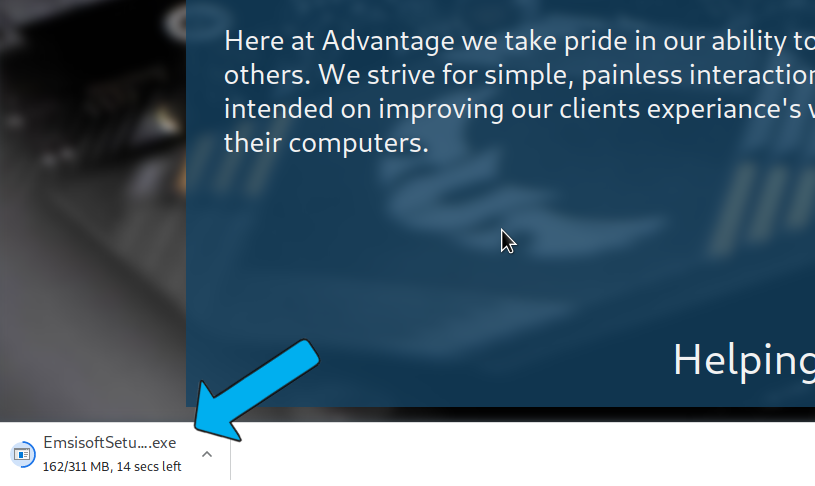
If using Google Chrome you should see the download in the lower left.
Step 3
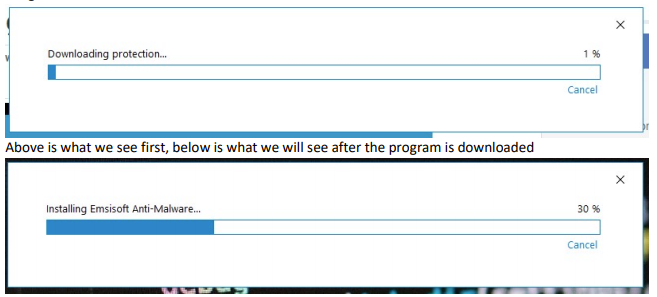
Launching the installer may trigger a permissions window to pop up, ensure you click 'yes' to allow the installer to load Emsisoft onto the computer. If you do not wish to have Emsisoft install at this time you can select 'no' and return at a later point-in-time. After this verification window closes upon clicking 'yes' you should get a new window showing the status of the installation process. This should show the 'downloading' stage and the 'installation' stage.
Step 4
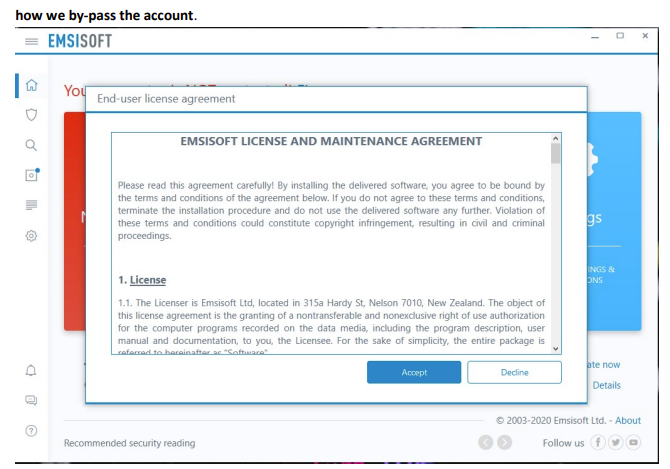
After the windows from Step 3 finish, you should see them close and a new window appears. This new window is where we will enter the 'Licesense' key, but before getting to that you must first accept the terms and agreements presented by Emsisoft.
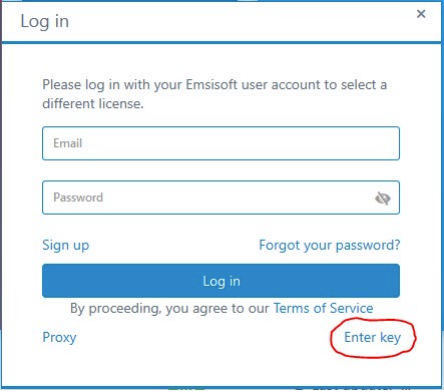
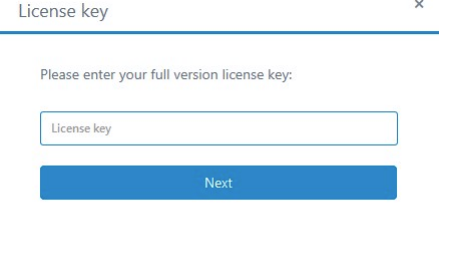
Once the License agreement is accepted you should then be presented a new window containing the option to sign in. If you wish to skip the sign in step you can press 'enter a license key' in the bottom right corner of the window. When pressed you should be given a field to enter the key into. The key entered here will be a 12 character long key with the format XXX-XXX-XXX-123.
Step 5
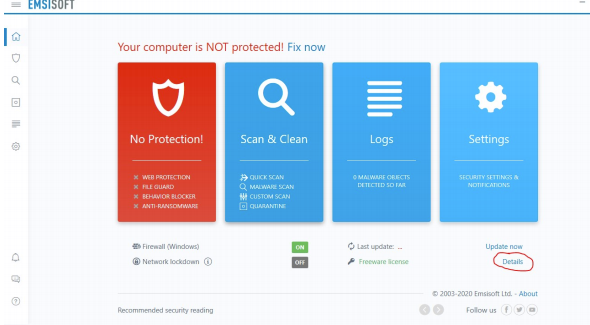
With the key entered you should be redirected to the applications 'home' screen, and in most cases a software update will be underway. If the application is updating you may notice the first box is yellow. This should change back to green once the newest version is installed.
Step 6
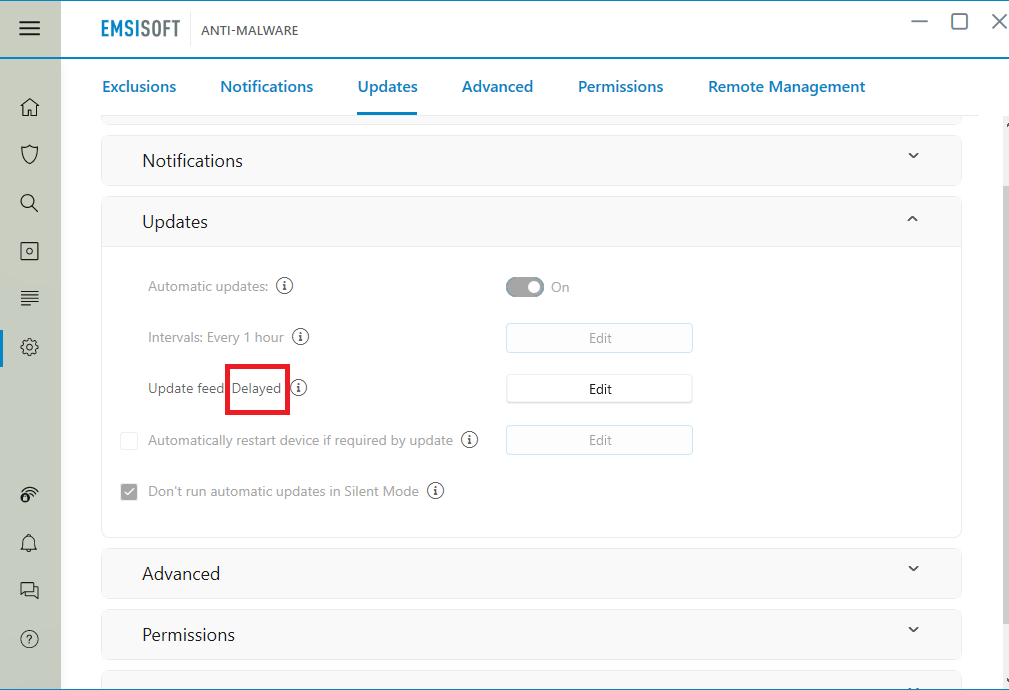
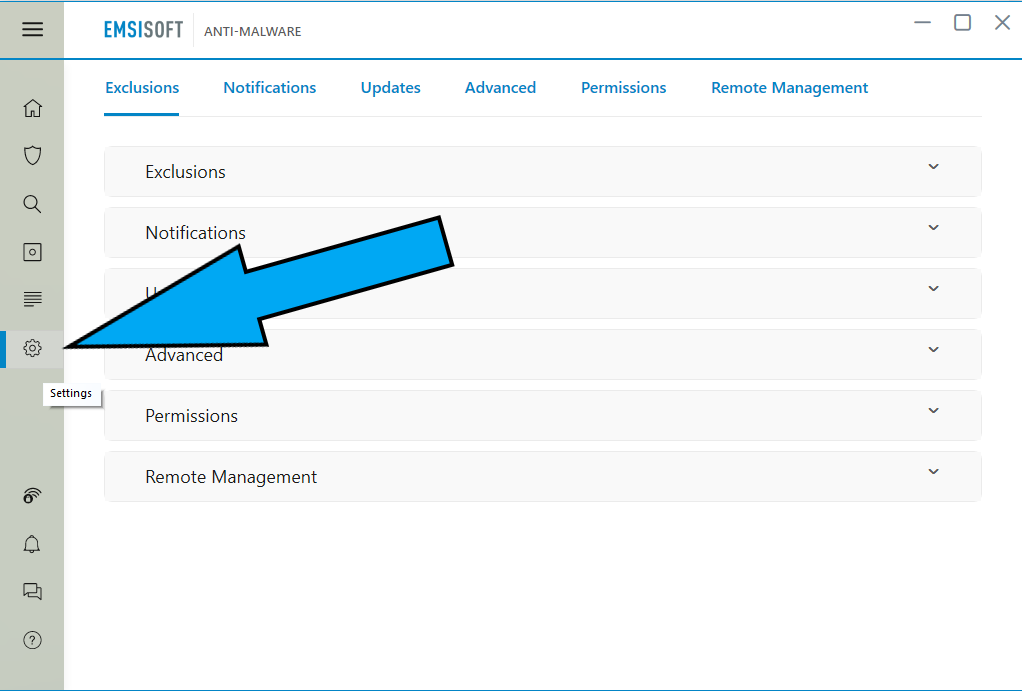
The final step to installing Emsisoft is ensuring the update feed is set to delayed. This will ensure only known working versions of Emsisoft is installed and help mitigate the amount of errors seen from the program. To begin, select settings on the left hand side of the window.
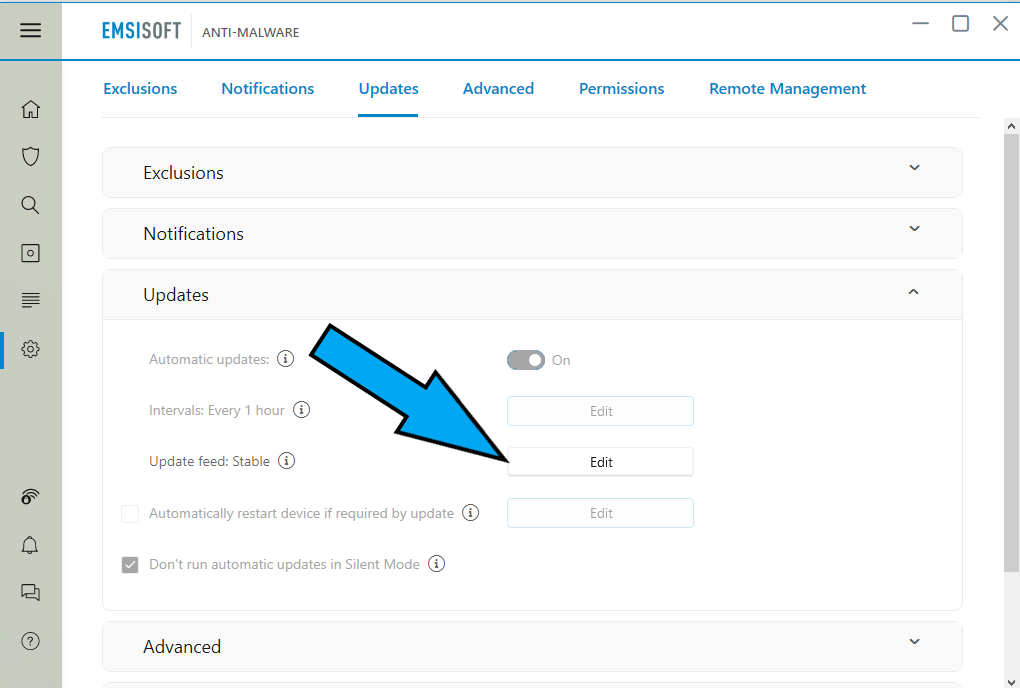
Once inside the settings window, navigate to the udates dropdown. Here you will find the option to change the "update feed" to delayed. To do so click on the "Edit" button to the right of update feed.
In the dropdown menu, change the select feed to delayed
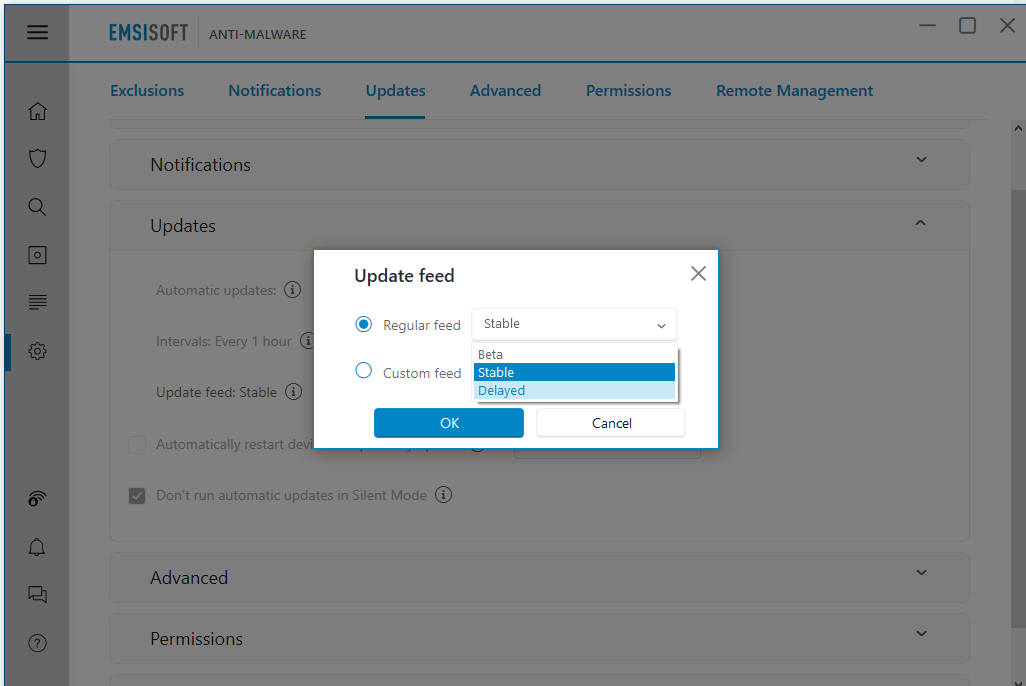
Once finished ensure you select okay to close out of the update feed settings menu
Once the changes have been made you should now see that it says "delayed" next to the update feed